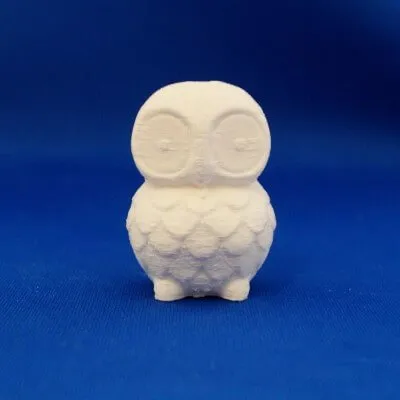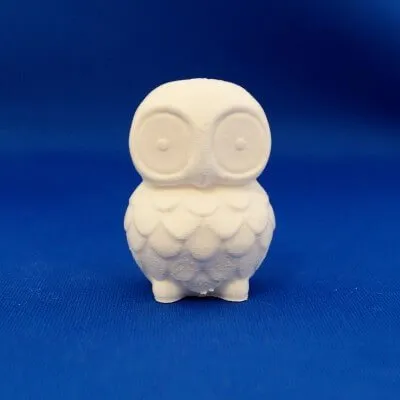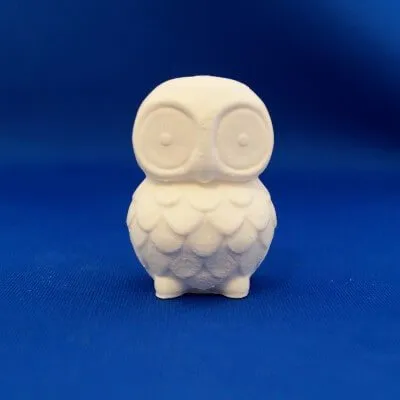
In all additive manufacturing processes, the goal is to build an object layer by layer. Naturally, the question arises about the effects of changing the layer thickness on the quality/functionality of the object. This is comparable to the decision about the resolution of your computer or television screen. In our case, a lower layer thickness means higher resolution (smoother surfaces). However, this advantage comes with increased printing time. The possible layer thicknesses (Z-resolution) vary between 3D printing processes and are also dependent on the 3D printer used.
In this article, we will present the most important effects of layer thickness and what it means for your rapid prototyping project.
Comparison of Layer Thicknesses
Effects for Various 3D Printing Processes
Some 3D printing processes (Colorjet; Polyjet) are not significantly affected by the choice of layer thickness, as the differences are hardly noticeable. However, for FDM/FFF and SLA, in particular, the choice of layer thickness is a crucial parameter that significantly influences the printing process. It affects both printing time/cost and the aesthetic and physical properties. Although it is often not easy to distinguish between objects printed with 100 µm or 200 µm high layers, the 100 µm object takes twice as long to print and incurs higher costs.
Lower layer thicknesses also mean that significantly more layers need to be applied to create the object. This increases the error rate because each printed layer has an error rate, i.e., the more layers, the higher the risk of the entire object becoming unusable.
In addition, the time required for printing also increases. Reducing the layer thickness by a factor of 2 also doubles the printing time.
Where Lower Layer Thicknesses Are Less Meaningful
Thinner layers are often associated with a smoother surface, leading some makers to consider increasing the Z-axis resolution as the “Holy Grail” of surface quality. However, if your object consists mostly of horizontal surfaces and vertical edges or 90° angles, reducing the layer thickness makes little sense as the achieved effects are only marginal.
On the other hand, if your object includes a significant number of curves and various angles, reducing the layer thickness can lead to an improvement in surface quality.
Examples:

Straight Surfaces / Slopes
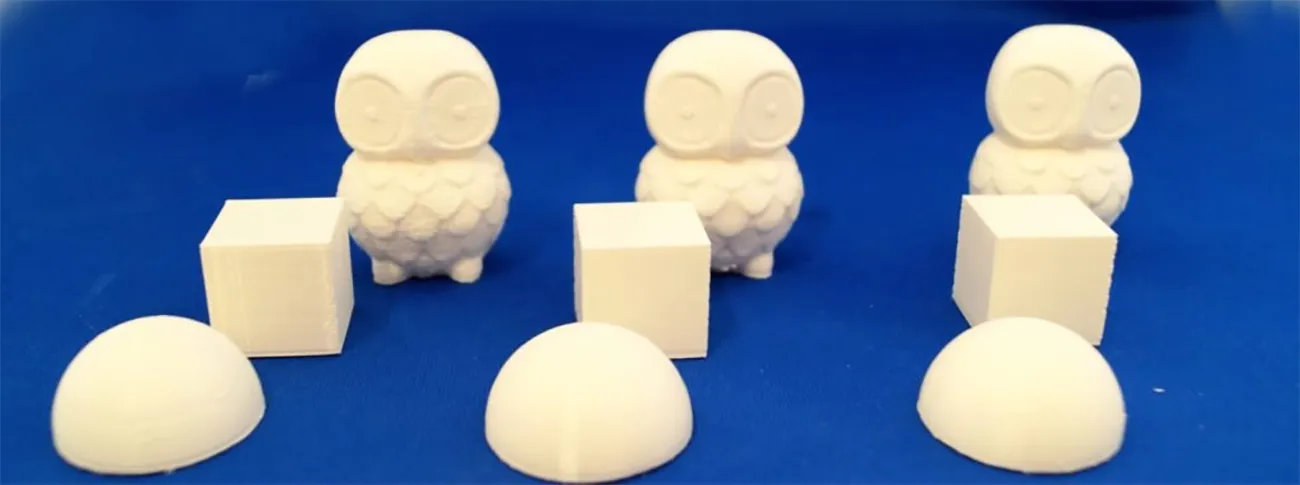
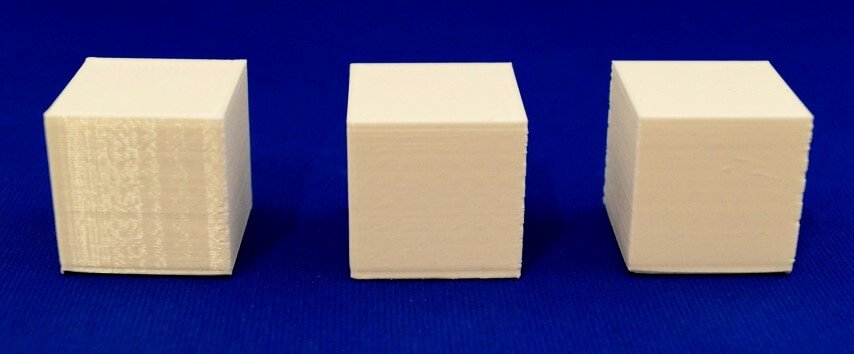
Print example: Cube 30 x 30 x 30mm (Left: 200 µm, Middle: 100 µm, Right: 60 µm layer height); Schematic representation (left: coarse resolution, right: fine resolution).
For straight surfaces, lower layer thicknesses are visually noticeable, but the differences are practically less significant. Often, it’s difficult to discern the layer thickness after printing.

Curves
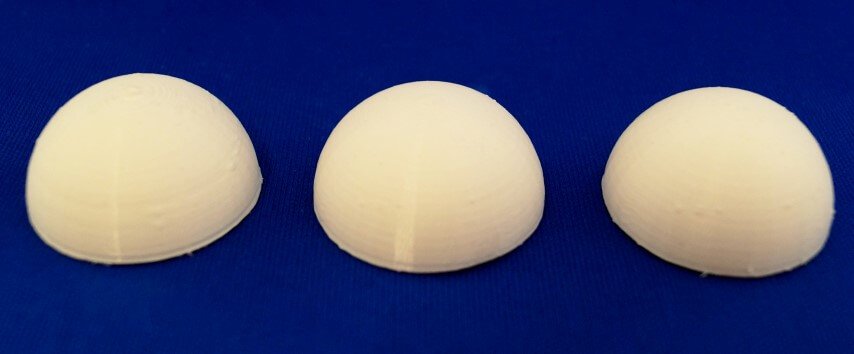
Print example: Hemisphere 30 x 30 x 15 mm (Left: 200 µm, Middle: 100 µm, Right: 60 µm layer height); Schematic representation (left: coarse resolution, right: fine resolution).
Higher resolution becomes significantly noticeable with curves. Thinner layers bring the model closer to the desired shape. This is especially visible at the upper ends in the print example.
Other Factors
- Positioning of the object in the 3D printer: Cleverly aligning the object in the build area can reduce the aforementioned effects.
- Intricate details/ornaments: A lower layer thickness can contribute to the accurate representation of very delicate details.
- Possible/intended post-processing processes: Some post-processing methods (blasting, coloring, acetone cleaning) reduce the need to decrease layer thicknesses.
Common Layer Thicknesses
Technology
FDM
Stereolithography (SLA)
Selective Laser Sintering (SLS)
HP Jet Fusion
Polyjet
Colorjet
Metal 3D Printing
Layer Thicknesses
50 – 300 µm
25 – 100 µm
100 – 160 µm
80 µm
15 – 32 µm
88 – 100 µm
30 – 100 µm
Summary
- Lower layer thicknesses result in longer print times, increased probability of errors, higher costs, but better surface quality is achievable.
- Reduction is not meaningful for objects with many horizontal surfaces, vertical edges, and right angles.
- For objects with complex geometries, reducing the layer thicknesses can lead to an improvement in quality.
- By strategic positioning in the 3D printer, the disadvantages of certain layer heights can be reduced.
About 3Faktur: 3Faktur specializes in 3D printing, rapid prototyping, and rapid manufacturing. We utilize HP’s Multi Jet Fusion technology and offer various materials for prototyping and series production. If you have any questions about your project, feel free to contact us.
